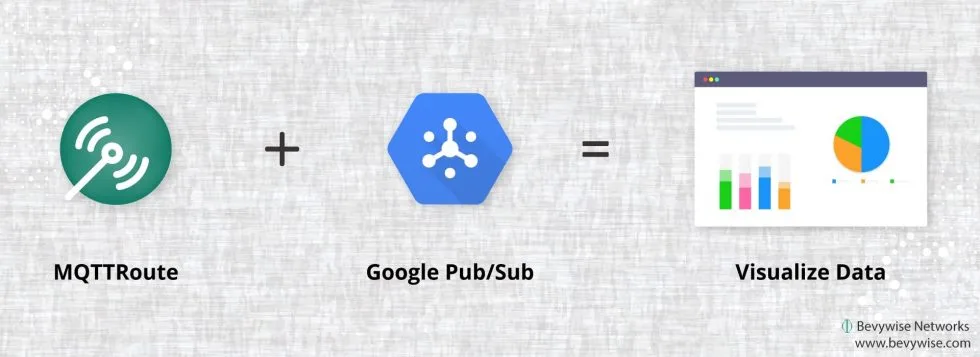
MQTT Broker Google Pubsub Integration

Google Pubsub is one of the leading Queue engine used to collect data from the publisher or MQTT Application for better data analytics. Integration of Bevywise MQTT Broker with Google Pubsub helps you push data from your IoT & IIoT edge devices via MQTT Broker to google pubsub.
Set up Google Compute for Pubsub
Google Pubsub is accessible from your Google cloud services account. You can follow the Google Pubsub document to create Google Pubsub with a publish topic.
Create Ubuntu Instance
We will be running the Bevywise MQTT Broker on the Ubuntu instance which was created in Google Cloud. Refer to the Google help document for creating the Ubuntu instance in Google cloud.
Installation Google Pub/Sub dependencies
Once you created an Ubuntu instance, login to that instance and install the below dependencies.
- Open terminal and install below gloud cloud packages
- sudo pip install google-cloud-core
- sudo pip install google-api-core
- sudo pip install –upgrade google-cloud-pubsub
- Go to “/usr/local/lib/python2.7/dist-packages/PyInstaller/hooks/” folder.
cd /usr/local/lib/python2.7/dist-packages/PyInstaller/hooks/
- In that foldder, open “hook-google.cloud.py” file by
sudo vim hook-google.cloud.py
- In that file, remove all the default lines and add the below code
from PyInstaller.utils.hooks import copy_metadata
datas = copy_metadata(‘google-cloud-core’)
datas += copy_metadata(‘google-api-core’)
datas += copy_metadata(‘google-cloud-pubsub’)
- Save and exit file
MQTT Broker Google Pubsub Integration
- Install Bevywise MQTTBroker in the created Ubuntu instance.
- After installation, go to Bevywise/MQTT Broker/extension folder.
- In that folder, open “custom_store.py” and replace the below code
import os
import sys
import json
from google.cloud import pubsub_v1
sys.path.append(os.getcwd()+’/lib’)
sys.path.append(‘/usr/local/lib/python2.7/dist-packages’)
project_Id = ‘project_name’
broker_Id = ‘testing’
def handle_Received_Payload(data):
global pubsub_v1
global project_Id
global broker_Id
publisher = pubsub_v1.PublisherClient()
topic_path = publisher.topic_path(project_Id, ‘broker’)
data = json.dumps(data)
data = data.encode(‘utf-8’)
publisher.publish(topic_path, data=data, device=broker_Id)
- In this code, “project id” represent the project id which you while creating google pubsub
- Save and exit the file
- Go to Bevywise/MQTT Broker/conf folder
- Open “data_store.conf” and change the following parameters
CUSTOMSTORAGE = ENABLED
- Save and exit the file
If you want to run the MQTTBroker with authentication, then follow the steps
- Open Bevywise/MQTTBroker/conf folder
- In that open “broker.conf” file and change
AUTHENTICATION_ENABLED = YES
- Save and exit the file.
- Google Pubsub use grpc authentication, so we must export the grpc ssl certificate path in the “/etc/environment” to set the default path for grpc ssl root certificate.
- Go to /etc folder and open “environment” file by
sudo vim environment
- In that file, paste the below command and save it.
export GRPC_DEFAULT_SSL_ROOTS_FILE_PATH=”usr/local/lib/python2.7/dist-packages /grpc/_cython/_credentials/roots.pem”
- Next restarted the instance.
- Once you restarted the instance, go to “Bevywise/MQTT Broker/bin” folder
- Next start the Bevywise MQTTBroker by
sudo sh runbroker.sh
Now Bevywise MQTTBroker collects the data from your edge device and send to the Google pub/sub via Custom store. From Google Pub/Sub, you can hook and send the data to your data analytics tool.
Get started your data analytics by trying our MQTT broker at FREE of cost.
