Introduction
Bevywise Hosted MQTT Broker is a SaaS-based fully managed less complex MQTT Broker, highly scalable, and best for all Enterprises. The most important thing about this cloud MQTT Broker is ready to serve. This messaging platform promises reliability, security, quick data transmission, and availability (access from anywhere anytime). Start connecting your devices to the Internet world. This guide provides a step-by-step procedure for how to get started & set up your MQTT Broker on a cloud instance. For reference, check our video tutorial .
Feature Highlights
- No complex Setup
- No Server maintenance
- Scalability
- Anywhere at Anytime
- Flexible data processing/integration
Get Started
To get started you need to create an account. Hosted Broker comprises two options. One is Shared FREE meant for learning, testing & small-scale applications. The other is the Dedicated MQTT Server best suited for developing large-scale applications. You can go for the option that can satisfy your use case.
Try Dedicated Instance
A dedicated MQTT server is secure isolated MQTT Instances where you get guaranteed isolation between other tenants’ instances.
This is a premium version and you can get started by signing up our dedicated instance .
On signing up, you will be provided with 3 days free trial.
The step-by-step methods are provided below to quickly set up and create a dedicated instance for you.
Quick Steps to Explore Dedicated Hosted MQTT Broker
- Sign up for a new account
- Choosing a suitable plan
- Exploring Instance Details
- Get started with the service
- Connect your clients/devices
Sign up for a new account
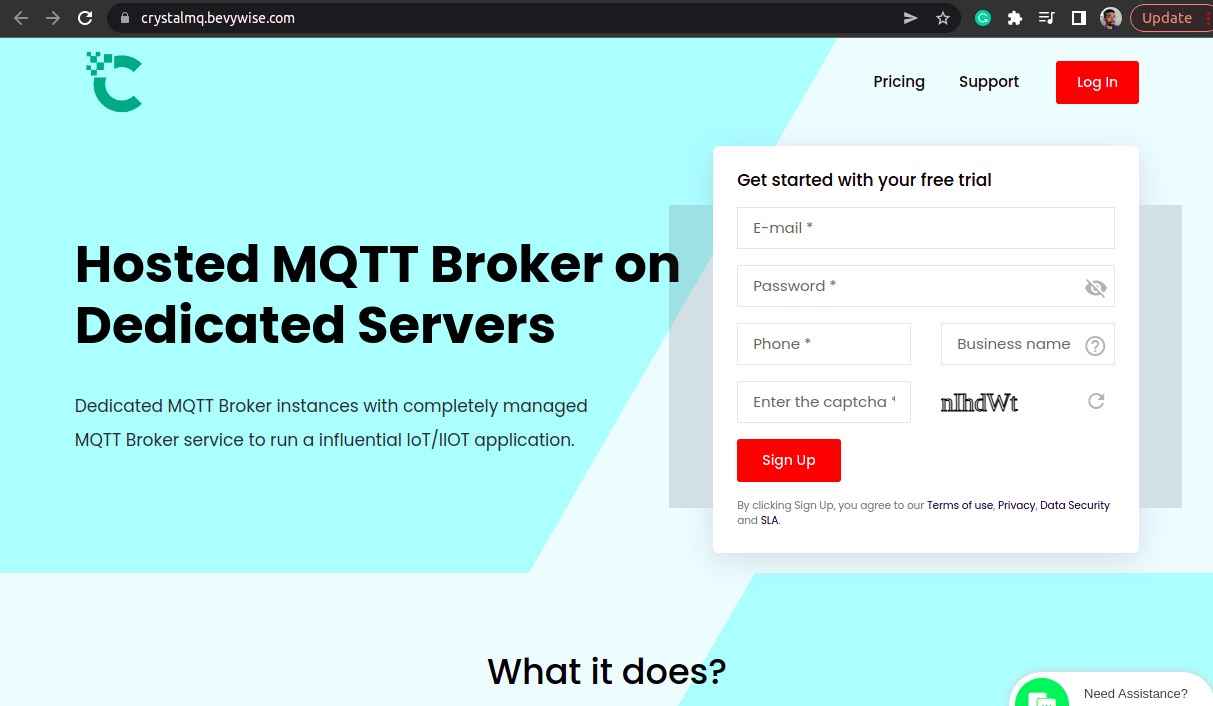
Sign up & create your own account by filling in the necessary details at our dedicated instance page.
Start filling in your Name, mail id, Password, Phone, Business Name, and CAPTCHA then click a Sign-Up Button.
If you are an existing customer, just try login in with your account.
Note : Provide a valid Email address as we will be verifying your account and will be sending your instance details via mail.
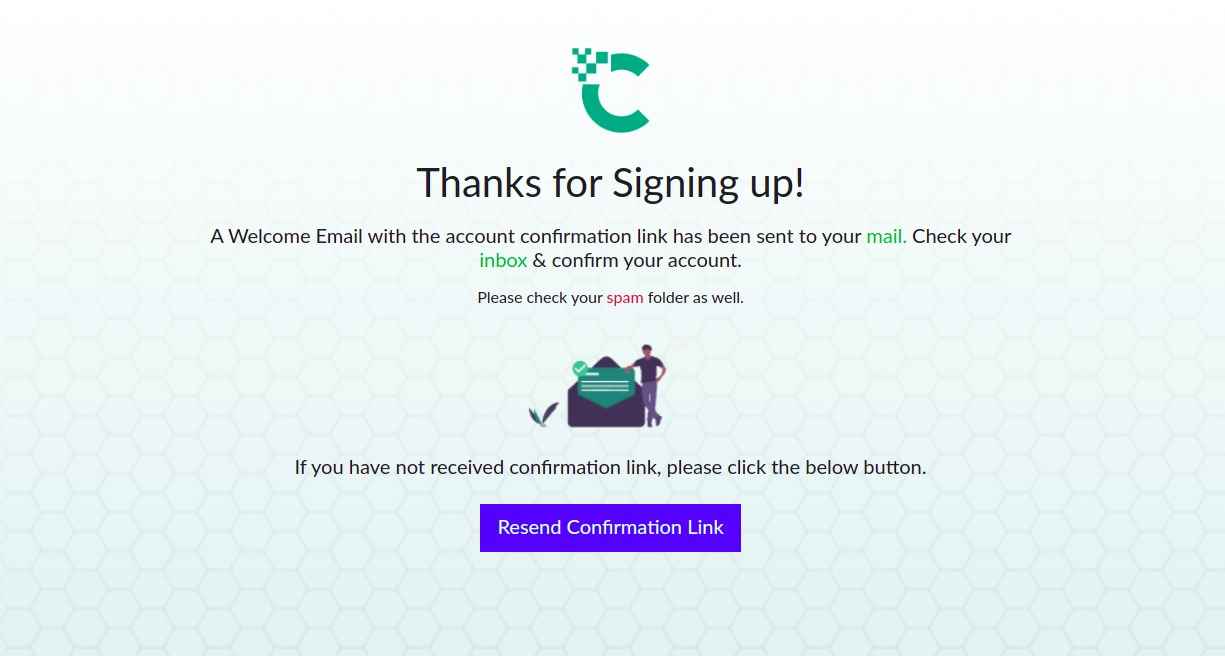
Verify your account by clicking the confirmation link sent to your mail.
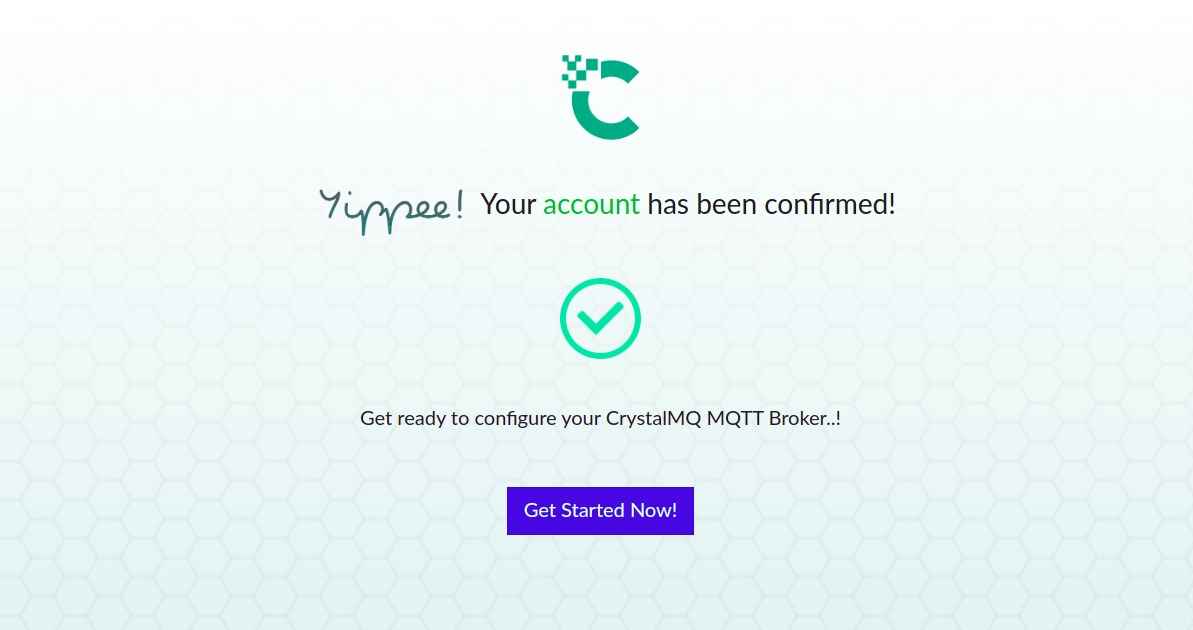
After successful mail verification, click “Get started Now”.
Choosing a suitable plan
Plan Description
We are providing three different plans Dedicated Instance MQTT V3, Dedicated Instance MQTT V5, Solution Provider for Small Medium businesses, and enterprise-level Plans.
Dedicated Instance MQTT V3 / V5
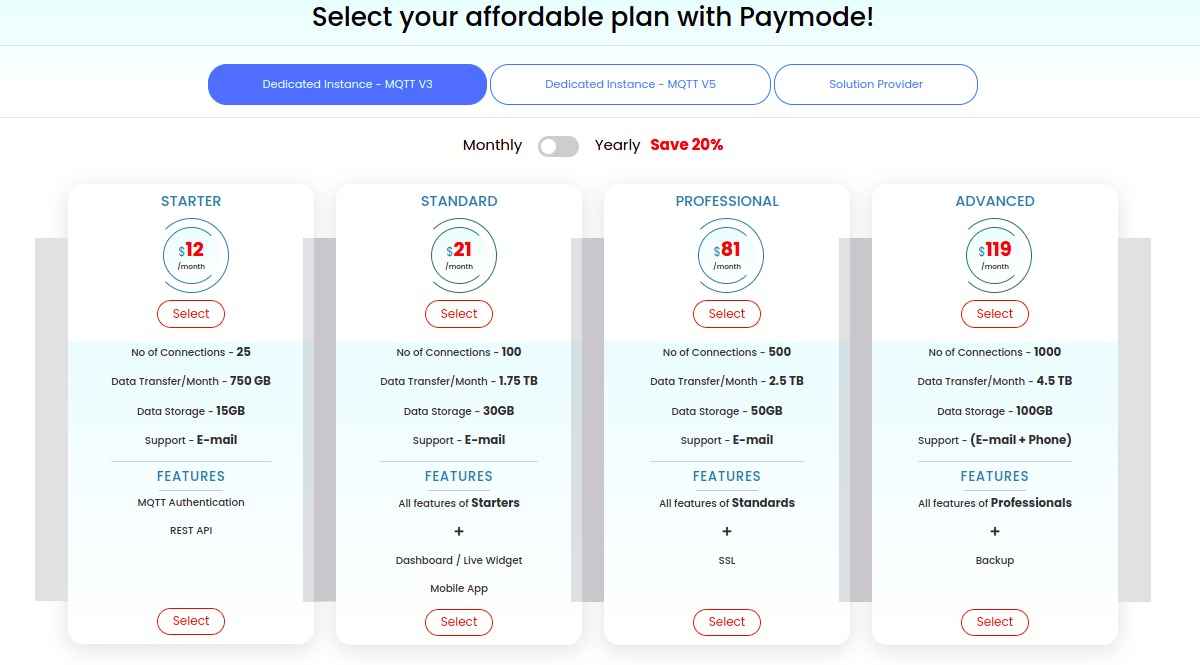
Dedicated Instance MQTT V3/V5 is the best secure compact pack to connect up to 1000 devices. The Basic plan starts with 25 connections.
The categorization includes Starter, Standard, Professional and Advanced. The categorization is based on the number of clients & the features. Both monthly & yearly subscriptions are available with annual billing.
Note : The only difference between V3 and V5 is that V3 provides MQTT Broker that supports MQTT protocol versions 3.1 & 3.1.1. And V5 provides MQTT version 5 of MQTT Broker.
Solution Provider
Solution Provider is a more flexible and user-specific plan. This is categorized into SMB & Enterprises. Both differ in the number of client connections. The most important thing about a solution provider plan is customization. The customization is valuable when you are intended to develop an application for your specific use case.
Kindly reach support, for more than 1000 device connections.
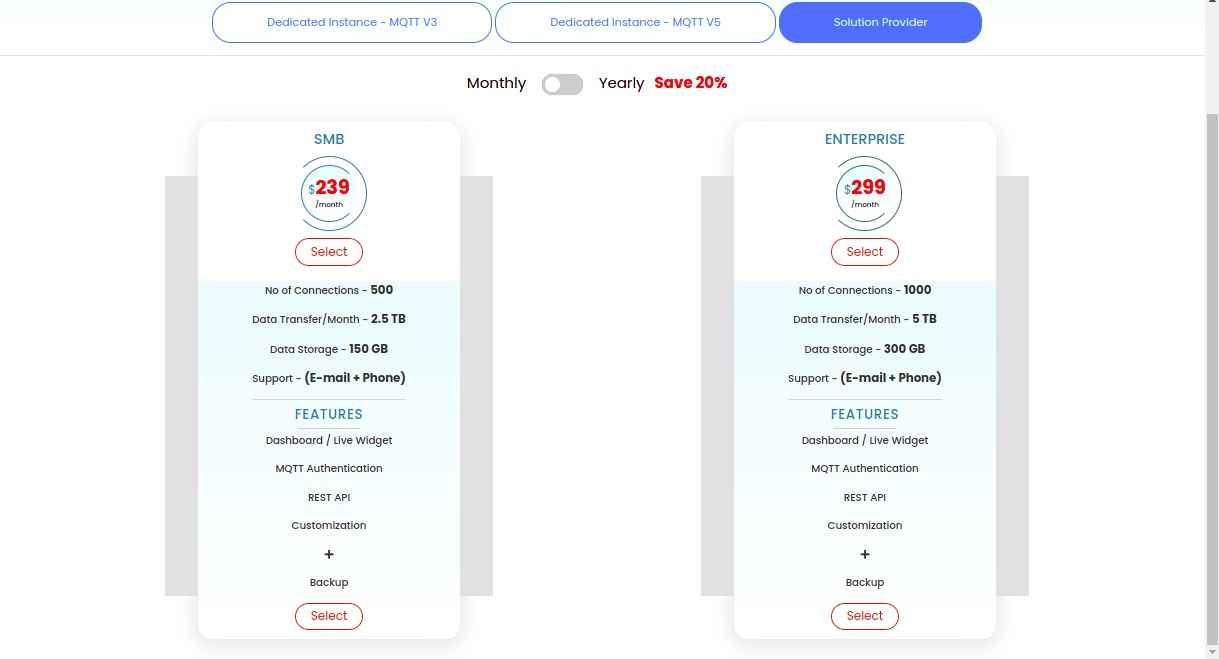
After choosing your desired plan, you will be directed to provide card details.
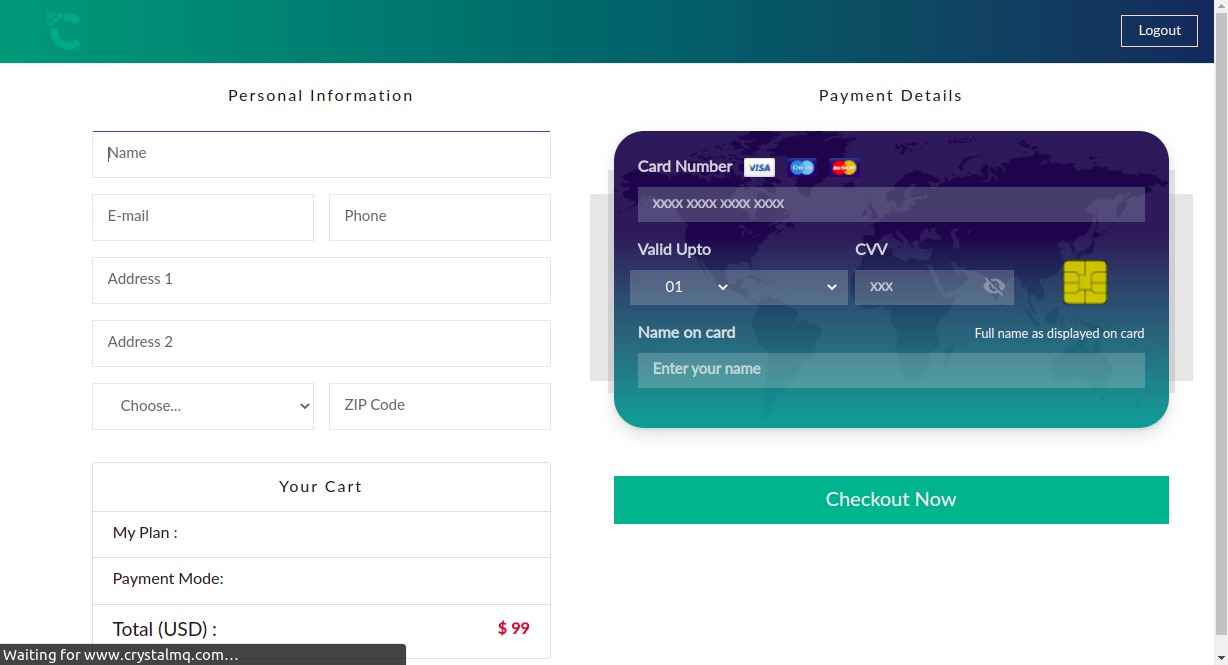
Once done, your instance will be created shortly.
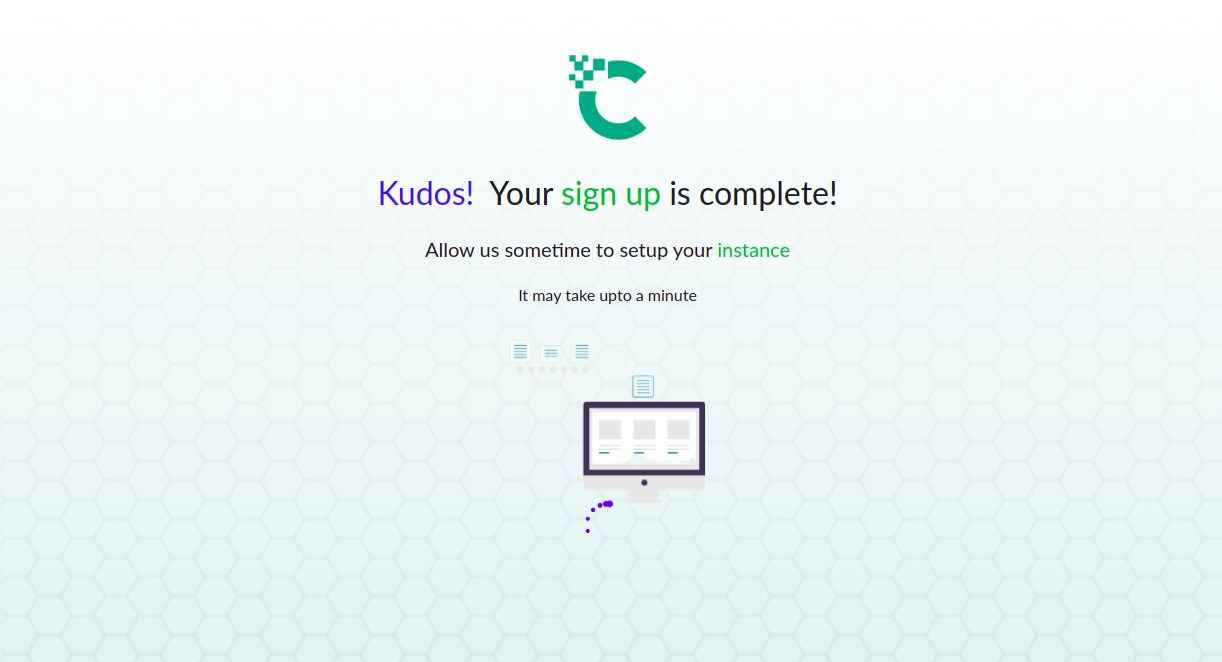
Exploring Instance Details
Once Host creation is completed, you will be intimated via mail with your instance URL & login credentials to access the service. Also, you can get complete details about the MQTT endpoints in your account dashboard.
You can reset your password at anytime.
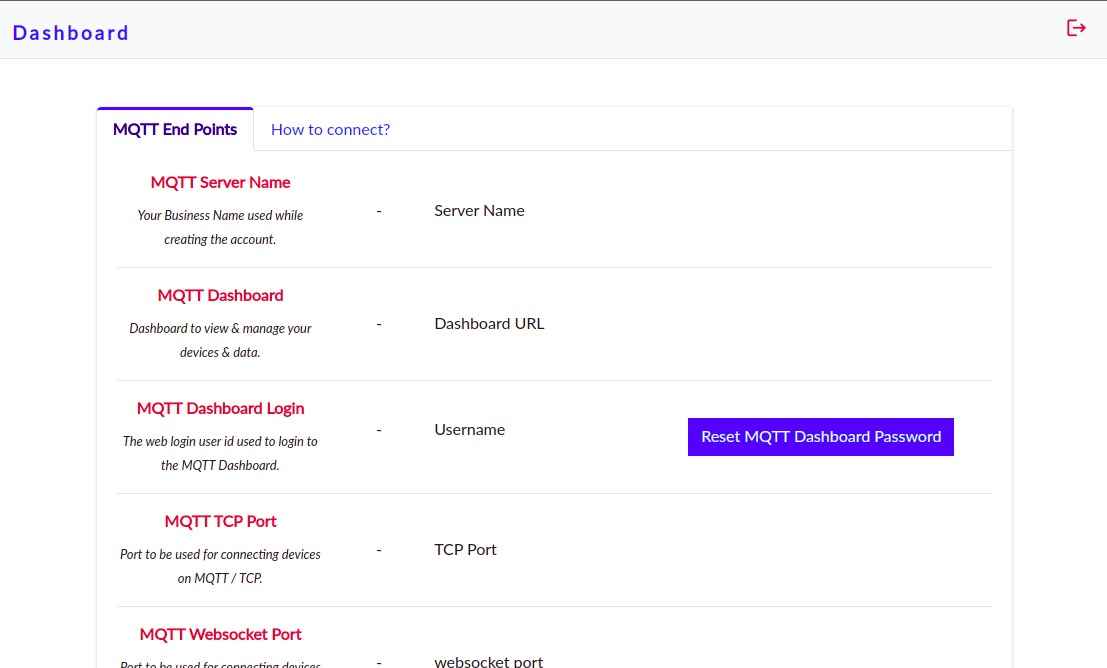
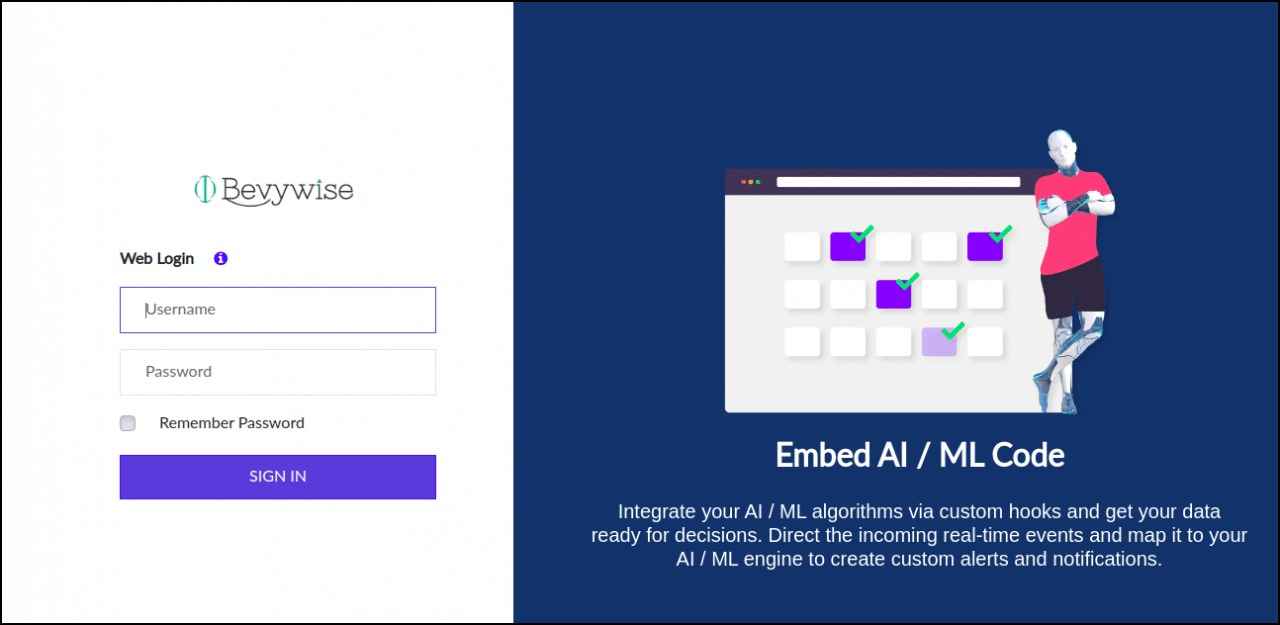
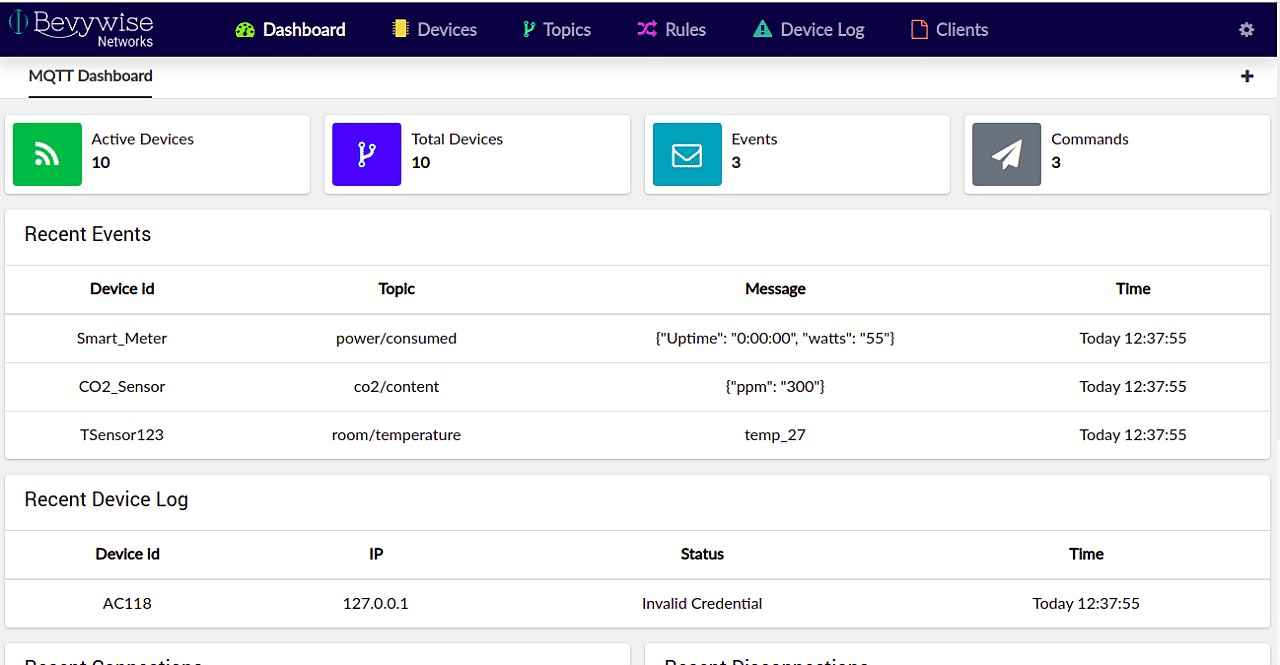
Now hit the instance URL sent to you to access MQTT Dashboard. You need to provide a username and password sent via mail to sign in. Now the setup is completed and you can start enjoying the services.
Connect your Clients/Devices
If you have your edge devices in hand, start connecting your devices with the Auth key and Auth token provided in the security tab of the MQTT Dashboard. Check the video tutorial for reference.
The Host IP will be the domain of your Hosted MQTT Broker URL.
For Example, if you run your shared instance , then your host IP will be publicmqtt.bevywise.com.
Connecting Hosted Broker with IoT Simulator
If you don’t have your real-time devices, you can simulate the necessary clients virtually with IoT simulator.
Check the video below for steps to connect MQTT Broker with IoT Simulator.